Highlights:
- Crucial Structural Function: Load bearing walls are vital structural elements that transfer the weight of your roof, ceilings, and upper floors down to the foundation; they cannot be removed without a plan to permanently redistribute that weight.
- Perpendicular Identification: You can often spot a load bearing wall by checking the attic or basement; these walls typically run perpendicular (at a 90-degree angle) to the ceiling or floor joists.
- Engineering and Permits are Mandatory: Before touching any structural wall, you must secure a building permit and consult a licensed structural engineer to calculate exact weight loads and specify the correct beam size.
- Temporary Support is Critical: You must construct heavy-duty temporary support walls on both sides of the load bearing wall to hold up the ceiling’s weight before any demolition can safely begin.
- Hidden Infrastructure Challenges: Walls are often conduits for utilities; you must account for the time and cost required to reroute hidden electrical wiring, plumbing lines, or HVAC ductwork.
- Support Columns Matter: A structural beam requires robust vertical posts (king studs) at each end to successfully transfer the weight down to a solid foundation point below.
- High Stakes Require Honest Skill Assessment: Because minor framing or calculations mistakes can lead to sagging ceilings, jammed doors, or structural failure, hiring a professional contractor is highly recommended if you lack extensive structural experience.
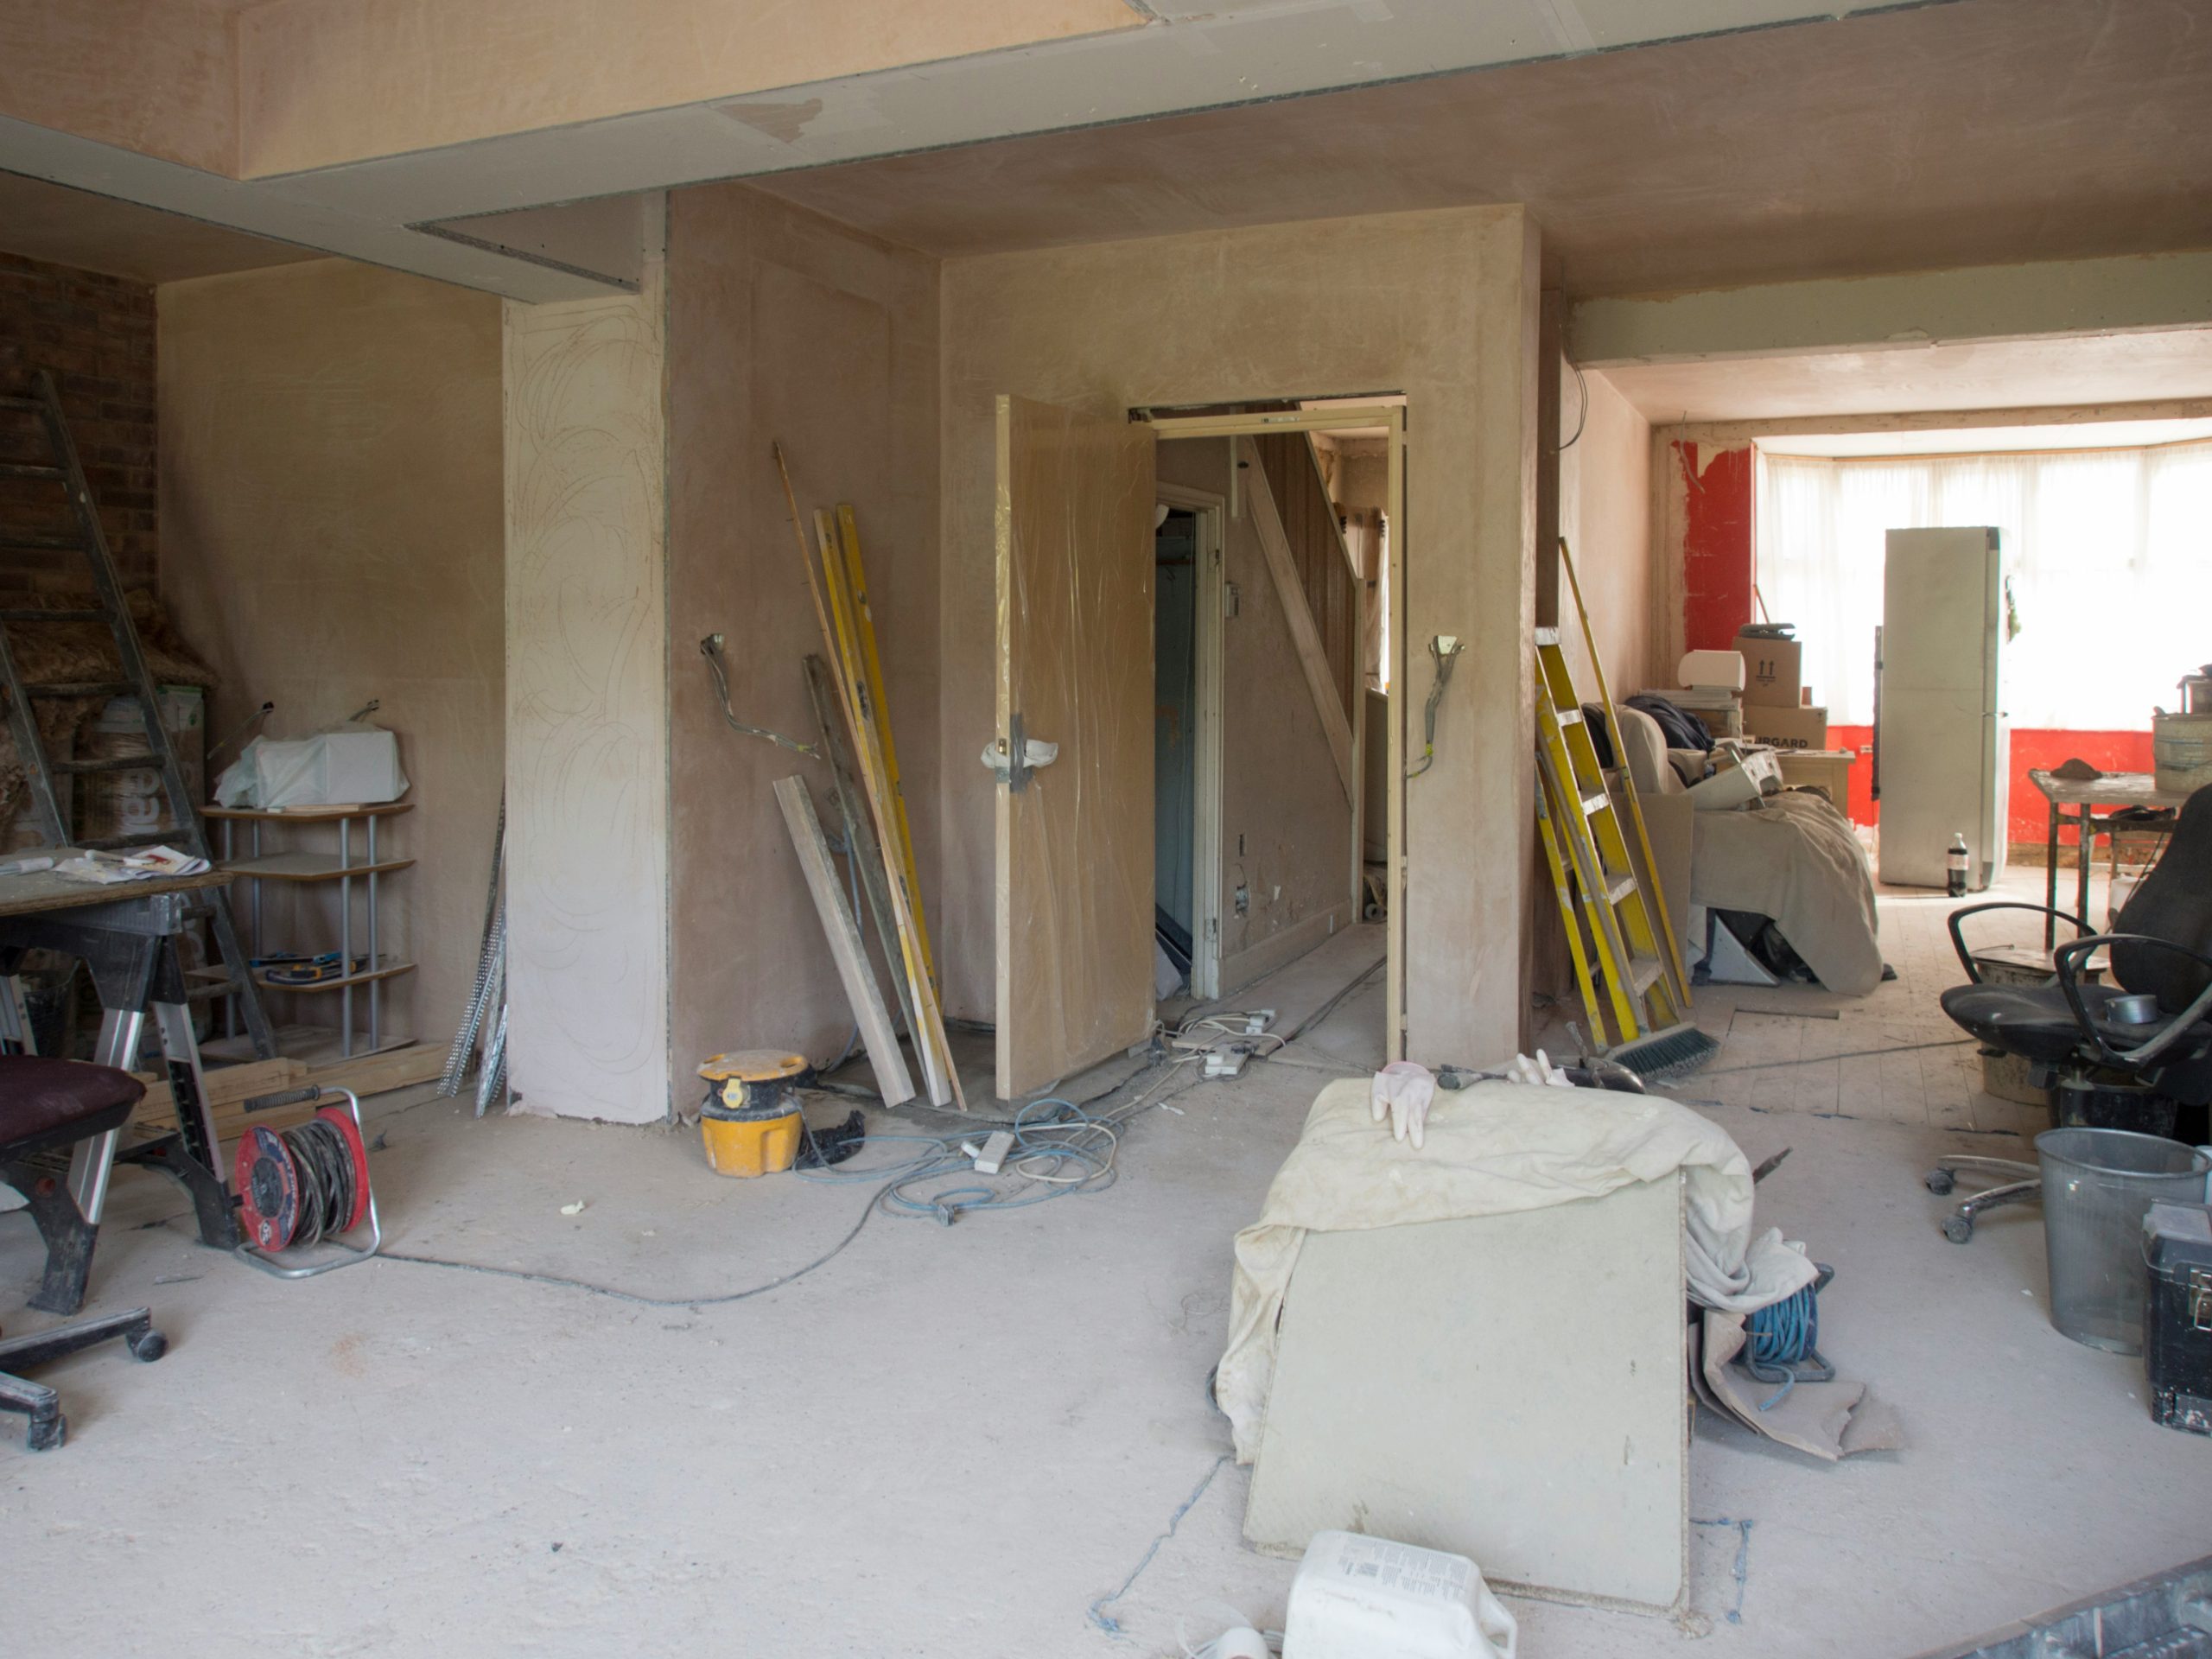
There is something undeniably appealing about a bright, airy, open-concept living space. If you are living in an older home with a traditional layout, you might feel like your kitchen, dining room, and living room are trapped in separate, dark boxes. Knocking down a wall seems like the ultimate solution to bring in natural light, improve traffic flow, and make your entire home feel twice as large.
However, before you grab a sledgehammer and go to town on that drywall, you need to know exactly what you are dealing with. If that wall is load bearing, it is actively keeping your roof or upper floor from crashing down into your living room. Removing a load bearing wall is entirely possible, but it is a major structural alteration that requires careful planning, engineering calculations, and precise execution. This guide walks you through everything you need to know to safely transition your home to an open floor plan.
Understanding What a Load Bearing Wall Actually Does
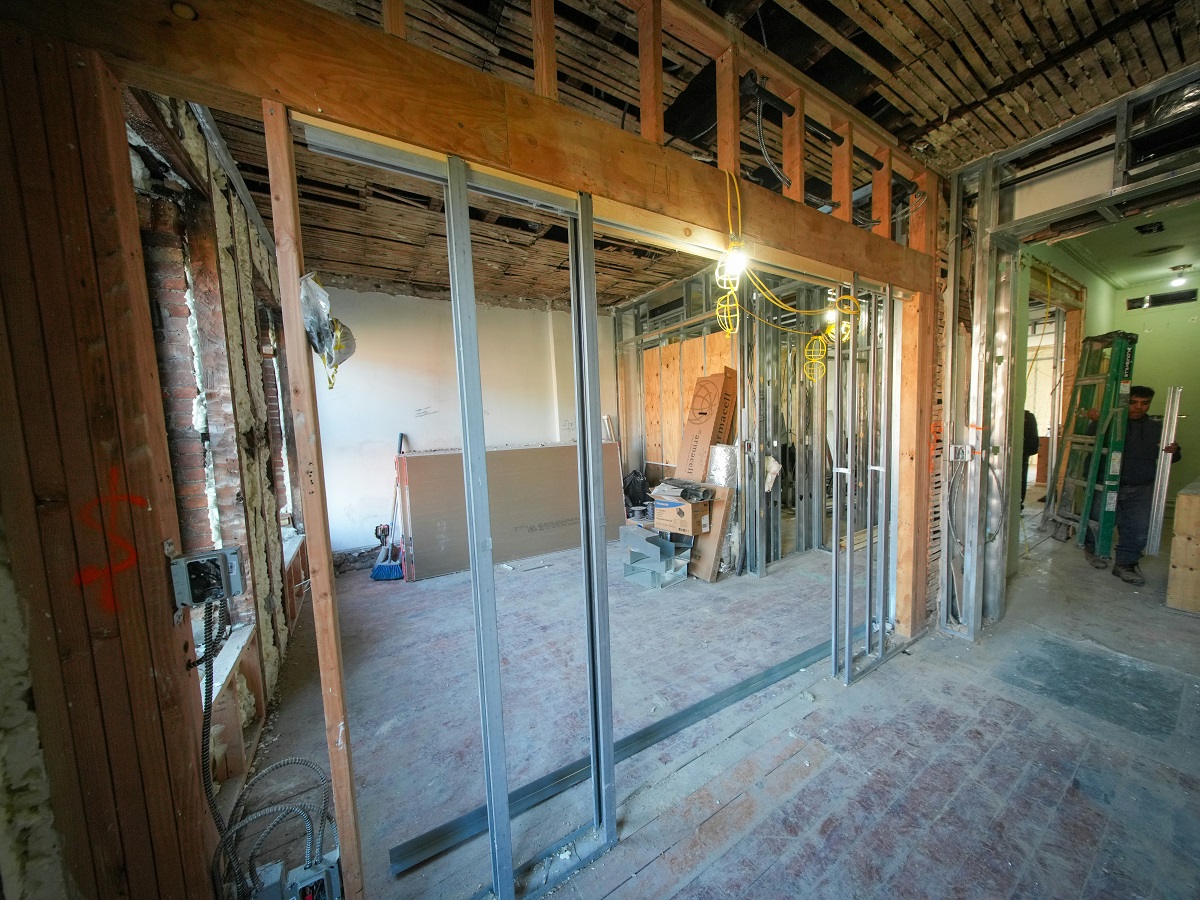
Every house relies on a delicate balance of physics and structural engineering to stay upright. Walls in a typical residential home fall into two main categories: load bearing and non-load bearing.
A non-load bearing wall, often called a partition wall, exists purely to divide spaces. It holds up nothing but its own weight and the drywall attached to it. You can tear it down on a whim with minimal structural consequences.
A load bearing wall, on the other hand, is a critical structural element. It transfers the weight from the roof, attic, ceilings, or upper floors down to the foundation. When you remove one of these walls, that weight does not magically disappear. It needs to be redistributed to other structural points, usually by installing a heavy-duty beam and supportive columns.
How to Tell if a Wall is Load Bearing
Before you make any plans, you must determine whether the wall you want to remove is supporting weight. While a structural engineer is the only person who can give you a definitive answer, you can look for several clues yourself.
- Check the direction of the floor joists: Go down into your basement or up into your attic to see which way the structural joists run. As a general rule, load bearing walls run perpendicular (at a 90-degree angle) to the ceiling or floor joists. Partition walls usually run parallel to the joists.
- Look directly below the wall: Check your basement or crawl space. If there is a beam, a support post, or another wall directly beneath the wall in question, it is almost certainly load bearing. The house is designed to stack weight directly over structural supports.
- Examine external and central walls: Exterior walls are almost always load bearing because they hold up the edges of the roof. Additionally, walls that run down the exact center of a house are highly likely to be load bearing, as they support the span of the joists from both sides of the building.
- Multi-story considerations: If you have a two-story home, any wall on the first floor that sits directly beneath a wall on the second floor should be treated as load bearing until proven otherwise.
The Financial Aspect and Permits
Do not skip the paperwork when it comes to structural modifications. Tearing down a load bearing wall without a building permit is illegal in most jurisdictions, and it can create massive headaches down the road.
If you ever decide to sell your home, home inspectors will notice structural modifications. If you cannot produce a permit for the work, the sale could fall through, or you could be forced to open up the walls to prove the work was done safely. Worse yet, if unpermitted structural work causes sagging or a collapse, your homeowner’s insurance policy will likely deny your claim entirely.
Expect to pay for the following line items during this project:
- Structural Engineer Fees: A licensed engineer will calculate the exact weight loads and specify the size of the beam you need.
- Permit Fees: Local municipality fees for structural alterations.
- Materials: Engineered wood beams (LVL), steel columns, heavy-duty joist hangers, and framing lumber.
- Equipment Rental: Heavy-duty drywall lifts or hydraulic jacks to raise the new beam into position.
Choosing the Right Structural Beam
Once the engineer assesses your home, they will provide a blueprint specifying the type of beam required to bridge the new open gap. You generally have three choices for structural beams.
Manufactured Engineered Lumber (LVL)
Laminated Veneer Lumber (LVL) beams are made by gluing together thin layers of wood under intense pressure. They are incredibly strong, dimensionally stable, and less prone to warping or shrinking than traditional lumber. LVL beams are a favorite for residential renovations because they are relatively lightweight compared to steel, making them easier for a small crew to handle without a crane.
Structural Steel Beams
For massive spans where you want a completely flush ceiling without a dropped beam, steel is often the best choice. An I-beam can support immense weight over long distances while maintaining a slim profile. The main downside to steel is its sheer weight. You will almost certainly need to rent specialized mechanical lifts or hire a rigging crew to get a heavy steel beam into place inside your home.
Dimensional Lumber Headers
For smaller openings, such as widening a doorway from three feet to eight feet, multiplying standard 2×10 or 2×12 boards glued and nailed together might suffice. However, for true open-concept spaces spanning 12 to 20 feet, standard dimensional lumber simply does not have the structural integrity to prevent sagging over time.
Dealing with Hidden Utilities
Walls do more than just hold up ceilings; they also serve as highways for your home’s infrastructure. When planning your layout, it is easy to focus entirely on the structural elements while forgetting about what is hidden inside the drywall.
When you peel back the layers, you are highly likely to find electrical wiring, plumbing stacks, or HVAC ductwork. Rerouting these utilities can quickly add time and cost to your project. Electrical wires are usually the easiest to relocate, as they can be pulled back through the ceiling or redirected through the floor. Plumbing and HVAC ducts are much more challenging. If a main sewer stack or a massive heating return trunk runs through the wall you want to remove, you may need to build a decorative architectural column or a dropped ceiling soffit to conceal them in your new open space.
Taking time to investigate these elements is a key part of avoiding common whole house renovation mistakes that can quickly derail your budget and timeline. Stripping a wall only to find out it contains the main drainage line for your upstairs bathroom can cause a complete work stoppage if you have not planned for a plumber to handle the relocation.
Step-by-Step Guide to Removing the Wall
If you have your permits, your structural engineer’s report, your materials, and a couple of capable helpers, you are ready to begin the physical work.
Step 1: Prepare the Space and Protect Your Home
Demolition creates an unbelievable amount of fine dust that will travel to every corner of your house if left unchecked.
- Empty the rooms on both sides of the wall completely.
- Cover floors with heavy cardboard or ram board to protect them from falling studs and plaster.
- Hang thick plastic sheeting over doorways to seal off the work zone from the rest of the house.
- Turn off your HVAC system so dust does not get sucked into the return vents and blown throughout the property.
Step 2: Clear the Drywall and Reveal the Framing
Before touching any structural wood, remove the skin of the wall to see exactly what you are doing.
- Shut off the electrical breakers to any outlets or switches on the wall.
- Use a utility knife to score the corners where the wall meets the ceiling and adjoining walls. This prevents the drywall tape from ripping chunks out of the surfaces you want to keep.
- Carefully pry away the drywall using a crowbar and a hammer. Take your time around any areas where you suspect wires or pipes are hidden.
Step 3: Build Temporary Support Walls
You cannot simply cut out the old studs without giving the ceiling a temporary place to rest its weight. This is the most critical safety step of the entire process.
- You must build a temporary support wall on both sides of the load bearing wall, roughly two feet away from the original wall.
- Construct these temporary walls using standard 2×4 studs spaced 16 inches apart, with a top plate pressed firmly against the ceiling joists and a bottom plate resting securely on the floor.
- Drive wooden wedges tightly under the temporary walls to ensure they are under active tension, taking the weight of the ceiling off the original wall.
Step 4: Demolish the Load Bearing Wall
With the weight safely held up by your temporary structures, you can finally remove the old framing.
- Cut through the middle of the wall studs using a reciprocating saw.
- Pull the cut studs away from the top and bottom plates using a pry bar.
- Remove the top plate from the ceiling joists and pry the bottom plate up from the subfloor. Clean up all debris immediately so you have a safe, trip-free workspace for the beam installation.
Step 5: Install the New Posts and King Studs
A beam cannot float in midair; it needs robust vertical posts at either end to transfer its load safely down to the foundation.
- Frame out new columns at each end of the opening. These are usually made by laminating three or four 2×4 or 2×6 studs together to form a solid post.
- Ensure these posts rest directly on a solid structural foundation point below. If the posts sit over an open floor joist space in the basement, you must install solid blocking underneath them to transfer the weight all the way down to the ground or concrete pad.
Step 6: Raise and Secure the Structural Beam
Now comes the heavy lifting. You will need a few strong helpers or a mechanical lift to get the beam into place.
- Lift the beam onto the top of your newly installed end posts.
- Ensure the beam fits tightly against the bottom of the ceiling joists. There should be no visible gaps.
- Secure the beam to the ceiling joists using heavy-duty structural screws and approved metal joist hangers or hurricane ties specified by your engineer.
- Nail or bolt the beam securely to the vertical end posts.
Step 7: Remove Temporary Walls and Inspect
Do not tear down your temporary walls the second the last screw goes into the beam.
- Slowly ease the tension off the temporary walls by removing the wedges or lowering your jacks.
- Listen carefully for any excessive creaking or popping sounds. A tiny bit of settling is normal, but drastic movement indicates a structural calculation error.
- Once the temporary walls are down, check the floor above for levelness and inspect the drywall in adjacent rooms for any new hairline cracks.
Finishing the Space Beautifully
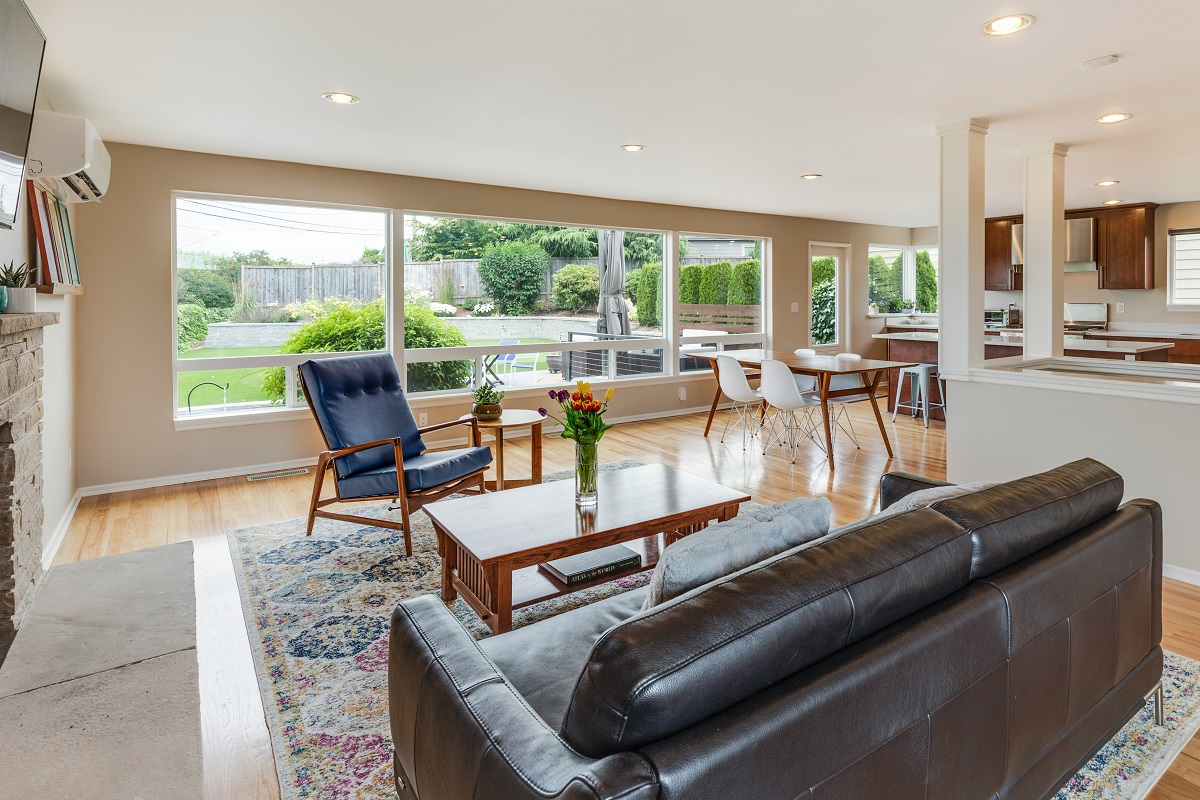
With the structural work complete, your home is technically transformed, but it will look rough until you finish the cosmetic details. You will need to patch the gap in the flooring where the old wall used to sit. If you have hardwood, you can weave in new planks and refinish the entire floor for a seamless look. For carpet or tile, you might need to install a decorative transition strip or replace the flooring in the entire open area.
Next, you will need to patch the drywall on the ceiling and walls where the old structure met the existing surfaces. Take your time with the mudding and sanding process; long ceiling expanses catch the light easily, and any imperfections in your drywall work will stand out clearly. Finish the project with a fresh coat of paint across the entire ceiling to unify the newly joined rooms.
When looking at the big picture, opening up a dark hallway or separating a cramped kitchen from your dining space can show how small changes that transform your home can completely change how you use your daily living areas. It makes entertaining easier, allows parents to keep an eye on kids while cooking, and allows natural light to flood deep into the interior of your house.
Knowing When to Hire a Professional Contractor
While a highly skilled DIY enthusiast with framing experience can technically remove a load bearing wall, it is not a project for beginners. The stakes are incredibly high. A minor mistake in beam sizing, post blocking, or temporary bracing can result in sagging ceilings, cracked drywall on upper floors, jammed doors and windows, or an outright structural failure.
If you feel even slightly uncomfortable with the structural physics, tool requirements, or sheer physical labor involved in this project, do not hesitate to hire a general contractor. A professional will handle the engineering coordination, pull the necessary permits, manage the utility relocations safely, and ensure that your brand-new open floor plan is both beautiful and structurally sound for decades to come.
Bringing Your Open Concept Vision to Life
Transitioning your home to an open floor plan is a powerful way to modernize your living space, improve natural lighting, and enhance the overall flow of your daily life. While removing a load bearing wall demands strict attention to structural physics, engineering specifications, and local building codes, the reward of a spacious, connected home is well worth the meticulous preparation. By carefully assessing your structural loads, securing the proper permits, and ensuring that weight is safely redistributed through a properly engineered beam, you can execute this renovation with total confidence. Whether you choose to take on the challenge yourself or partner with an experienced general contractor, taking the time to do it right guarantees a beautiful, structurally sound layout that you will enjoy for years to come.